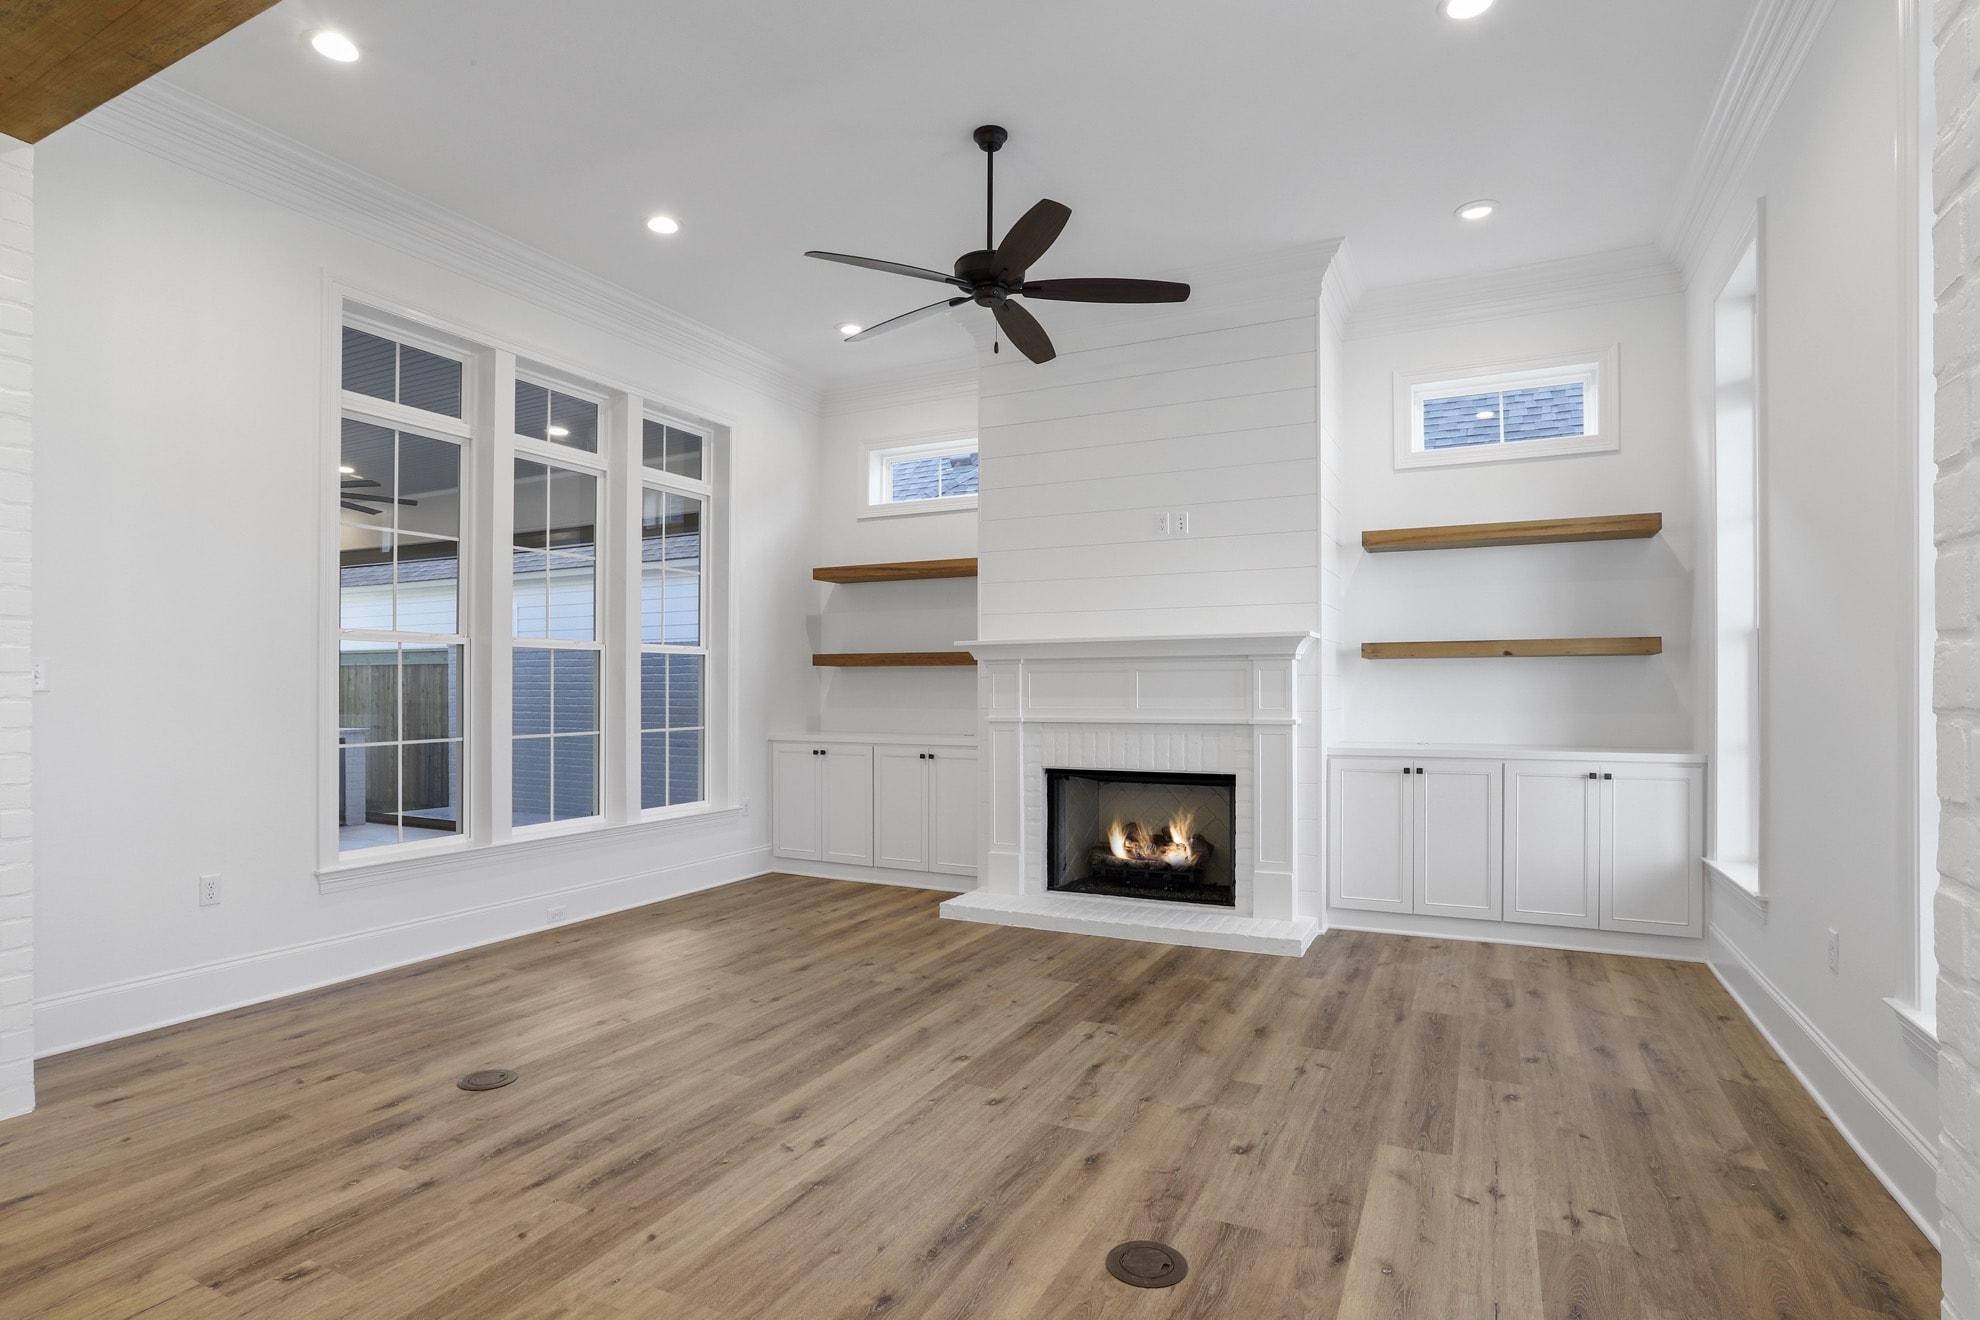
When it comes to selling your home, first impressions aren’t just important — they’re everything. And in today’s digital world, that first impression almost always happens online.
Before a potential buyer ever steps foot in your home, they’re scrolling through listing photos. In fact, studies show that listings with high-quality, well-prepared photos attract more views, more showings, and often sell faster (and for more money).
At Morton’s Realty, we know that great listing photos are one of the most powerful marketing tools a seller has. Whether your home is in Greenwood, Lake Greenwood, Ninety Six, or anywhere in the Upstate, preparing your property properly before the photographer arrives is key to making it stand out.
Here’s everything you need to know about how to prepare your home for listing photos — plus answers to common follow-up questions homeowners often have during the process.
1. Start with a Deep Clean
Cleanliness is non-negotiable. Cameras pick up everything — dust, fingerprints, streaky windows, and clutter — often more clearly than the human eye.
Before photo day:
-
Wipe down all surfaces (countertops, mirrors, glass doors, tables, appliances).
-
Vacuum and mop all floors, including under furniture.
-
Dust everything, from baseboards to ceiling fans.
-
Wash windows inside and out for natural light and clarity.
If cleaning feels overwhelming, consider hiring a professional cleaning service for a one-time deep clean. It’s an investment that pays off by making your home shine in photos.
2. Declutter and Depersonalize
Less truly is more when it comes to real estate photography. Buyers need to imagine themselves in your home — not feel like they’re intruding on yours.
Decluttering Tips:
-
Clear off kitchen and bathroom counters.
-
Remove excess décor, personal collections, and refrigerator magnets.
-
Hide cords, remotes, and miscellaneous items in drawers or baskets.
-
Remove area rugs that break up floor space (especially if you have beautiful hardwoods).
Depersonalizing Tips:
-
Take down family photos and personal artwork.
-
Remove name plaques, diplomas, or children’s artwork.
-
Store away personal items like toothbrushes, medications, and clothing.
Morton’s Realty Tip: Think “model home” — warm and welcoming, but neutral and spacious.
3. Focus on Lighting and Windows
Natural light is a photographer’s best friend. Bright, airy spaces look bigger, cleaner, and more inviting.
Before your photographer arrives:
-
Open all curtains, drapes, and blinds.
-
Turn on every light in the house, including lamps and overhead fixtures.
-
Replace any burnt-out bulbs and make sure all lightbulbs match (soft white or daylight).
-
Clean all light fixtures and lampshades to prevent dust spots from showing in photos.
If you have heavy or dark curtains, consider replacing them temporarily with lighter, sheer ones to allow more sunlight in.
4. Highlight Your Home’s Best Features
Every home has something special — a cozy fireplace, a spacious kitchen, lake views, or a relaxing outdoor deck. Make sure those features take center stage.
To make standout features pop:
-
Arrange furniture to direct attention toward focal points like fireplaces or windows.
-
Clear off surfaces near special features to reduce distractions.
-
Turn on accent lighting or a gas fireplace for warmth and atmosphere.
-
Style key spaces with subtle décor — a vase of fresh flowers on the dining table or neatly folded towels in the bathroom.
At Morton’s Realty, we help clients identify which features photographers should emphasize and how to stage each room for maximum appeal.
5. Perfect Your Curb Appeal
Your home’s exterior is the first photo most buyers will see. Strong curb appeal can make someone stop scrolling — or skip your listing entirely.
Outdoor Prep Checklist:
-
Mow and edge the lawn.
-
Trim bushes and trees, especially near windows or walkways.
-
Sweep porches, decks, and driveways.
-
Remove trash cans, hoses, toys, and vehicles from view.
-
Add fresh mulch, flowers, or a new welcome mat for a polished touch.
If you have outdoor living areas — like a patio, fire pit, or lake dock — stage them just like you would an indoor room. Arrange furniture neatly, add cushions or a few plants, and keep everything tidy.
Landscape Tips: https://pin.it/41QOMcu6J
6. Stage Each Room with Intention
You don’t need professional staging for every home, but thoughtful presentation makes a big difference. Every room should have a clear purpose.
For example:
-
Living Room: Symmetrical furniture layout with a cozy, conversational feel.
-
Kitchen: Clean counters with one or two decorative items (a bowl of fruit or small plant).
-
Dining Room: Simple centerpiece and neatly arranged chairs.
-
Bedrooms: Crisp bedding, fluffed pillows, and minimal décor.
-
Bathrooms: Spotless counters, folded towels, and no visible toiletries.
If a room is empty, Morton’s Realty can help you decide whether virtual staging (adding digital furniture and décor) would help buyers visualize its potential.
More Staging Tips: https://pin.it/41QOMcu6J
7. Hide Everyday Items
It’s amazing how easily small, everyday items can distract in a photo. Before the shoot:
-
Hide trash cans, pet bowls, litter boxes, and laundry baskets.
-
Remove dish racks, sponges, and cleaning supplies.
-
Tuck away extra shoes, coats, and mail.
-
Close toilet lids and neatly fold all towels.
These small details make your photos look clean and uncluttered — helping buyers focus on the space itself, not the stuff in it.
8. Coordinate with Your Photographer
Your photographer knows how to showcase your home in its best light — literally and figuratively. Still, good communication goes a long way.
Before the shoot, discuss:
-
Timing: Morning light versus afternoon light can make a big difference.
-
Angles: Are there specific rooms or features you want emphasized?
-
Special requests: Seasonal decorations, twilight shots, or drone photography.
At Morton’s Realty, we work directly with trusted real estate photographers who know how to make South Carolina homes look stunning — both inside and out.
9. Common Questions Sellers Ask About Listing Photos
Should I be home during the photo session?
It’s usually best to step out while the photographer works. It allows them to move quickly without interruption and capture the best angles without foot traffic.
Can I leave my pets at home?
We love pets, but it’s best to remove them (and their items) for photos. It keeps the home cleaner and helps appeal to buyers who may not have pets.
What if the weather is bad on photo day?
If it’s dark or raining, your photographer may reschedule to ensure your listing shines in the best light. Exterior photos especially benefit from clear skies and bright light.
Can my home look “too empty”?
A little personality is fine! The goal is to strike a balance between welcoming and neutral — enough warmth for buyers to connect, but not so much that they feel it’s your space, not theirs.
10. The Bottom Line: Preparation Pays Off
Taking the time to prepare your home for listing photos pays off in a big way. Homes that are clean, bright, and staged thoughtfully tend to:
✅ Attract more online views
✅ Generate more showings
✅ Receive stronger offers
✅ Sell faster than unprepared homes
Think of your photos as your home’s digital handshake — the moment where buyers decide whether to learn more or move on.
At Morton’s Realty, we guide our clients through every step of the selling process — from pre-photo prep to closing day. We know what catches a buyer’s eye, and we’ll help ensure your home stands out in the crowded South Carolina market.
📍 Morton’s Realty – Greenwood, SC
Your trusted local experts in selling homes across Greenwood, Lake Greenwood, and the Upstate.
📞 Contact us today at (864) 229-0422 for a personalized consultation on how to prepare your home for listing photos — and how to sell it fast.